HEXO个人博客搭建
文档维护:Arvin
网页部署:Arvin
▶
写在前面:HEXO搭建个人博客
HEXO个人博客搭建
环境准备
安装Node.js
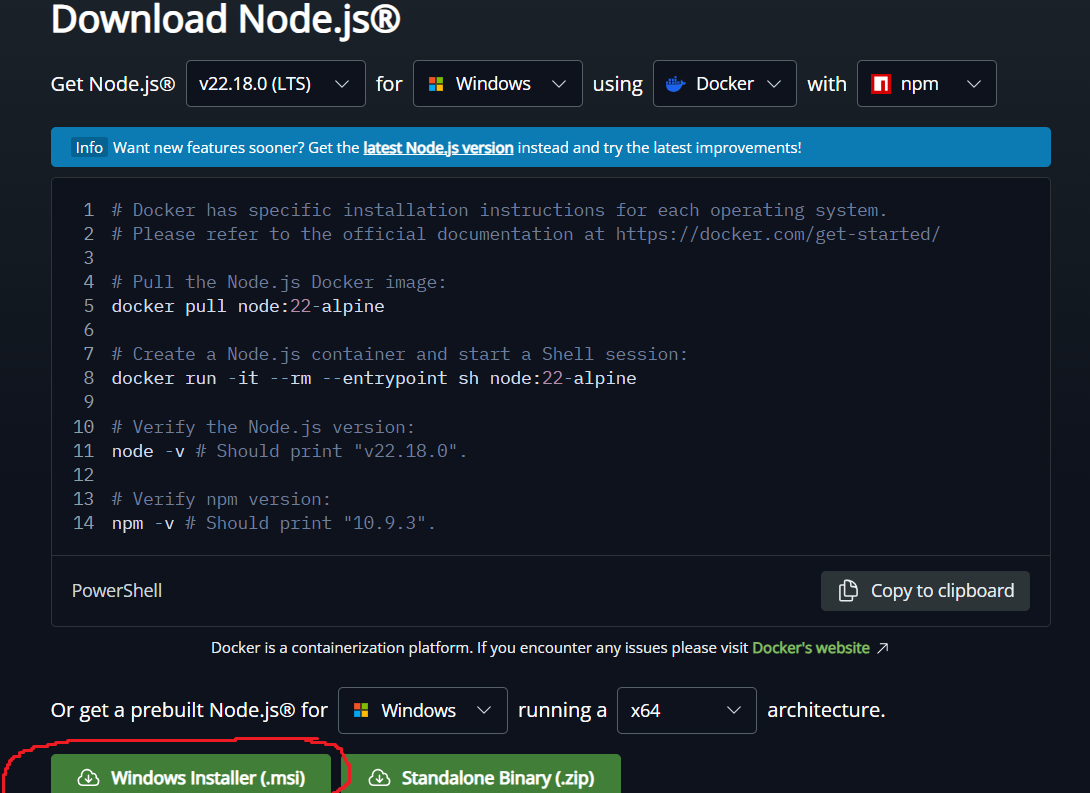
Node.js 是一个开源的、跨平台的 JavaScript 运行时环境,它允许开发者在服务器端运行 JavaScript 代码。Node.js 最初由 Ryan Dahl 于 2009 年创建,目的是为了构建高性能的网络应用。下载官网
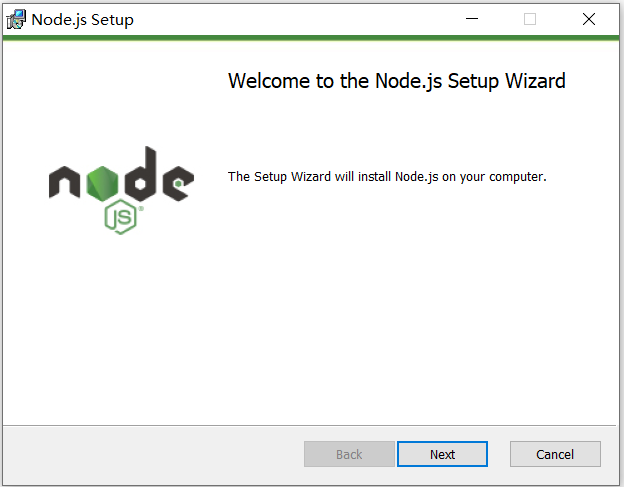
下载后开始安装
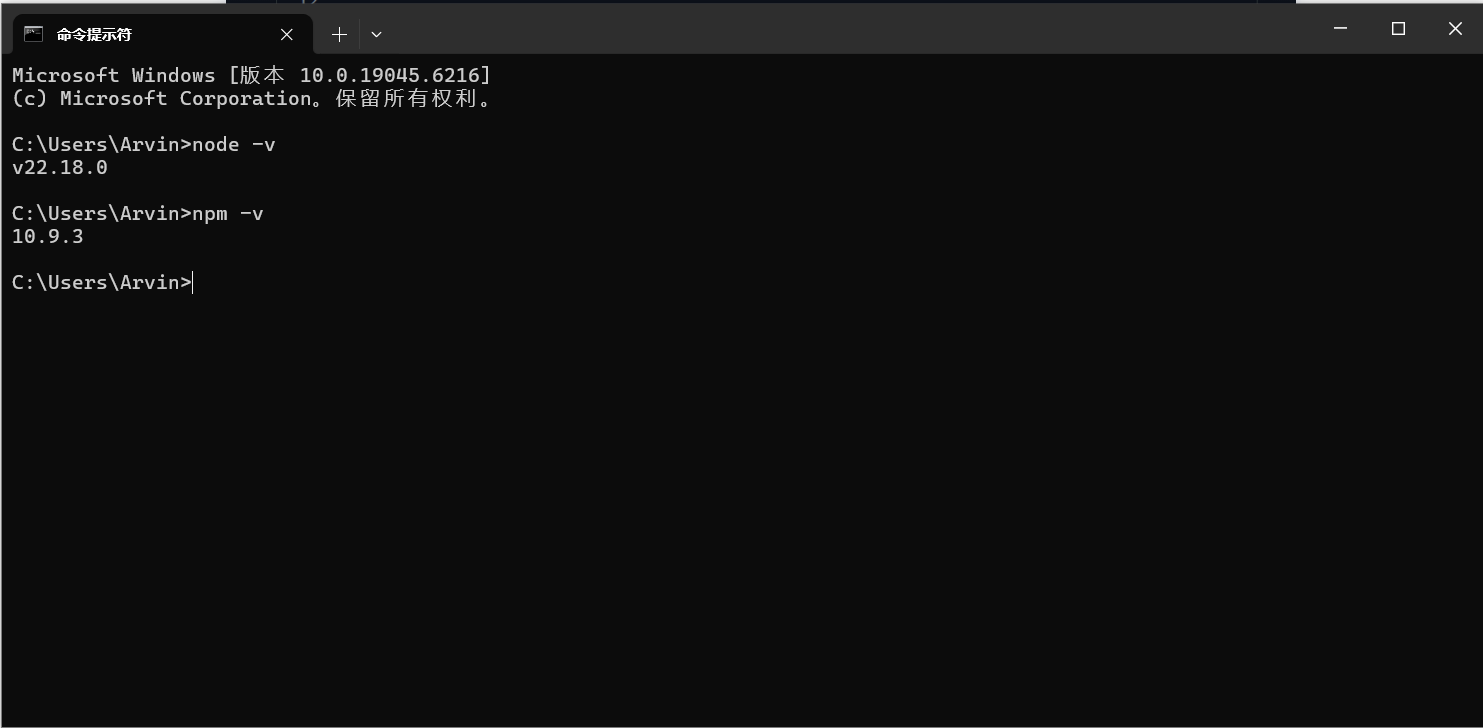
更改安装位置不要安装在C盘,其余默认即可。安装后打开终端,输入以下命令查看是否安装成功
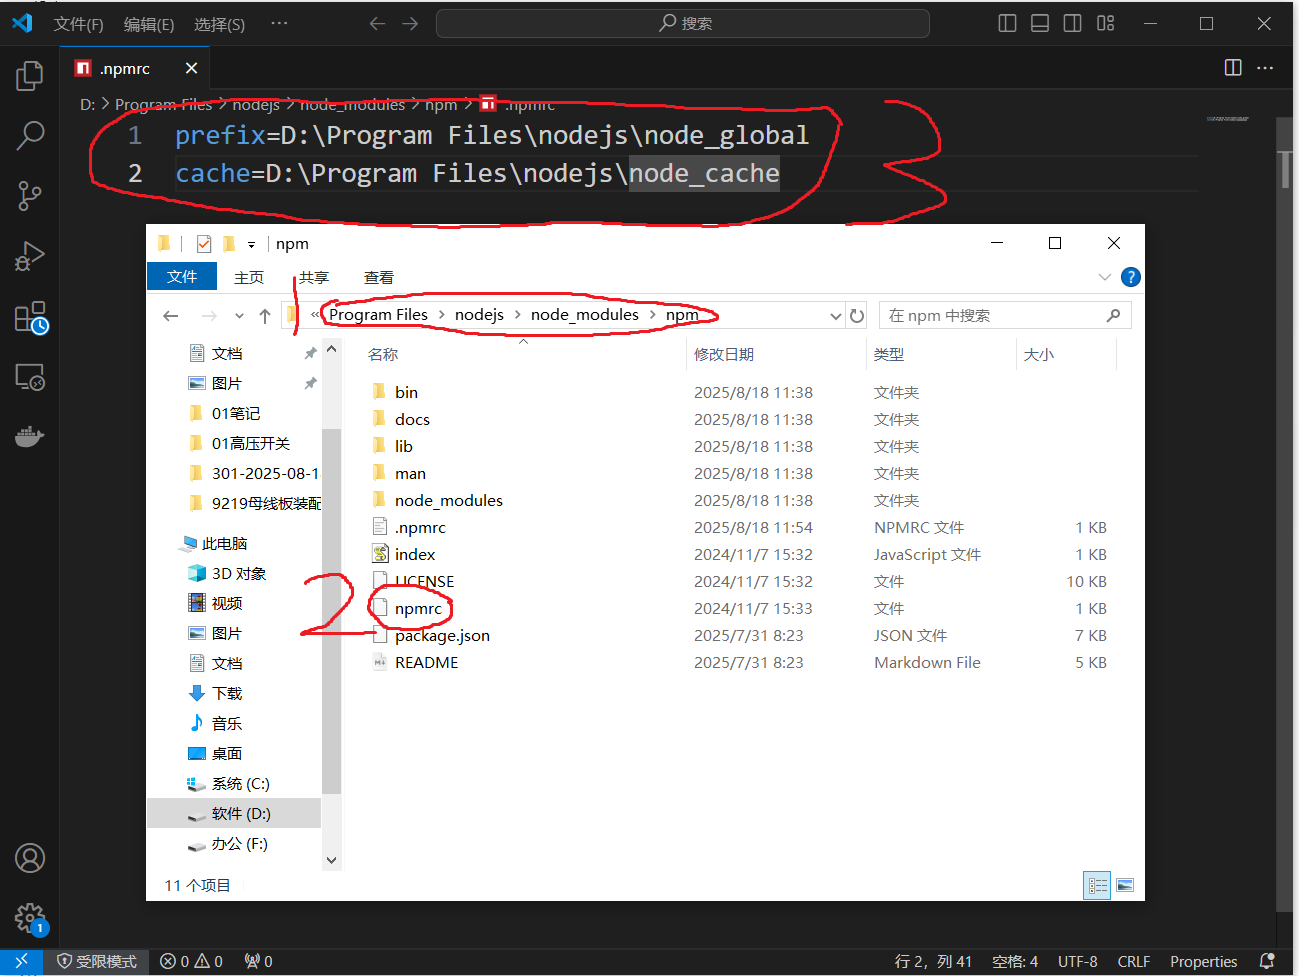
在刚才的安装位置中新建两个文件夹
node_global和node_cache,然后在终端中输入命令更改下载缓存位置
按照下列步骤配置文件
更改环境变量
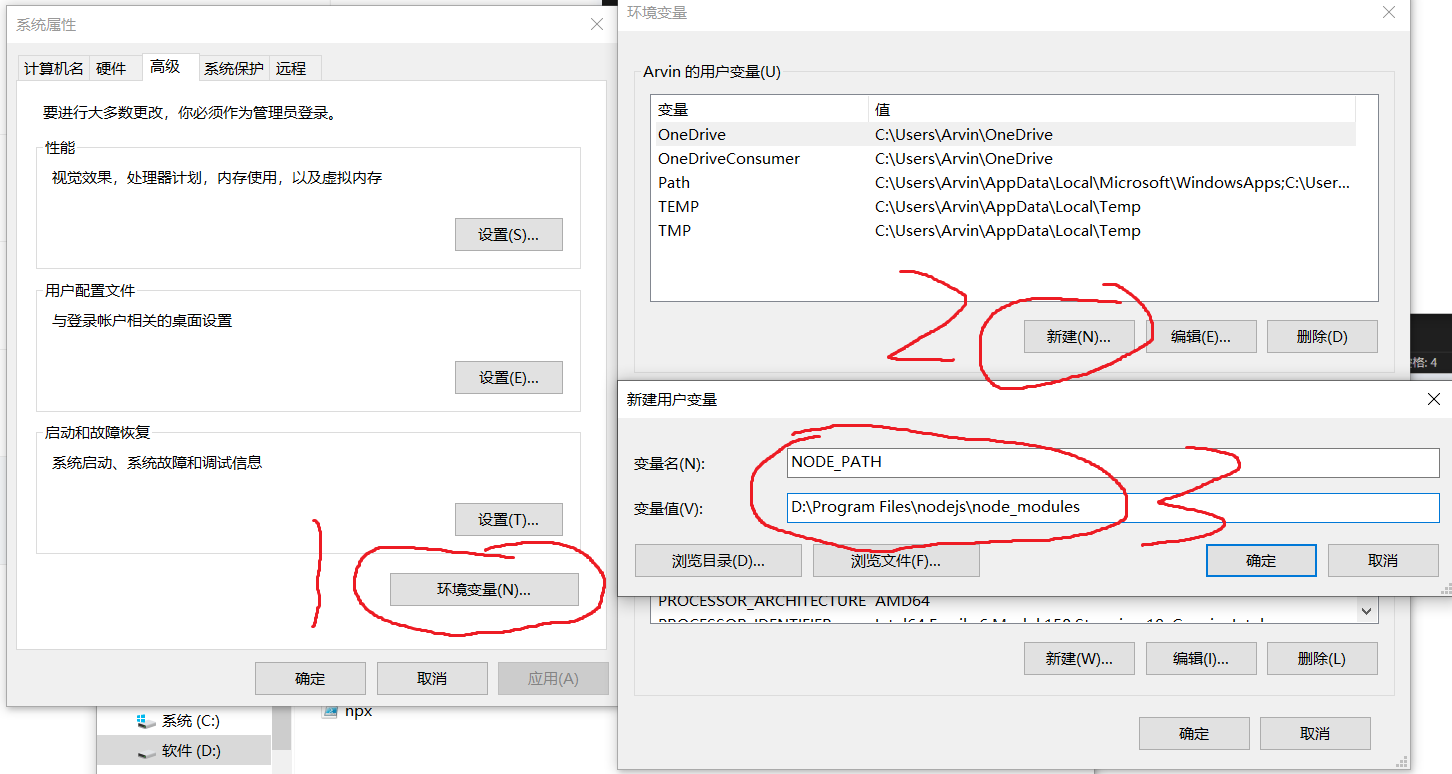
然后把下面的
“C:\User\AppData\Roaming\npm”修改为“D:\Program\nodejs\node_global”,即可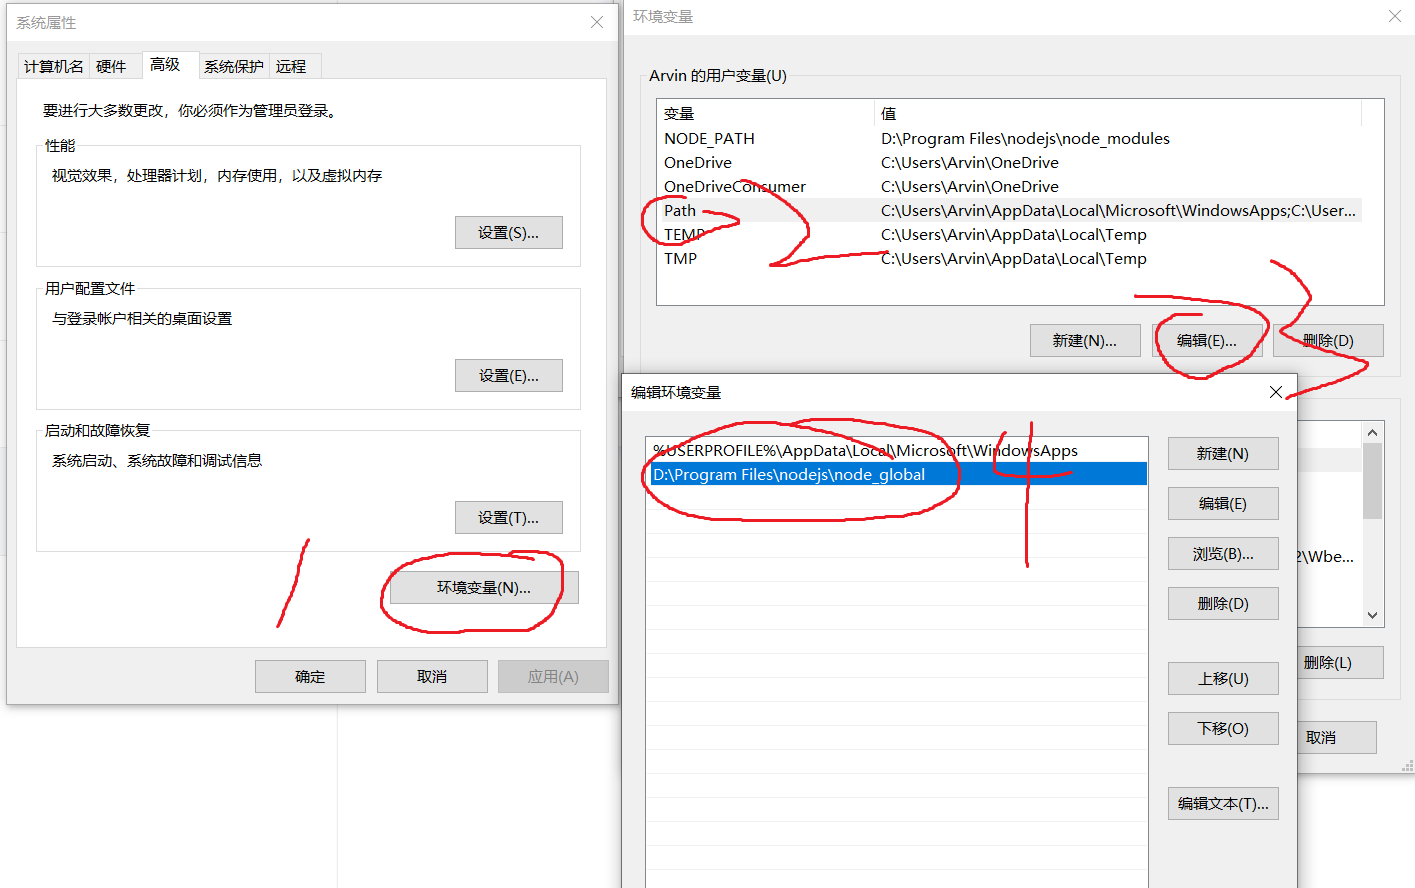
安装git
点击下载链接下载安装程序按照步骤安装即可(更改安装路径,其余默认即可)。
安装hexo
安装
HEXO1
npm install -g hexo-cli
初始化
hexo,新建存储博客的文件夹1
2mkdir && cd ~/myblog # 在你计划的地方新建文件夹myblog
hexo init myblog进入文件夹,安装
npm1
2cd myblog
npm install启动服务站点,然后就可以在本地
http://localhost:4000/访问1
2hexo g
hexo server
将博客推送至github
首先创建一个新仓库,仓库名为
用户名+github.io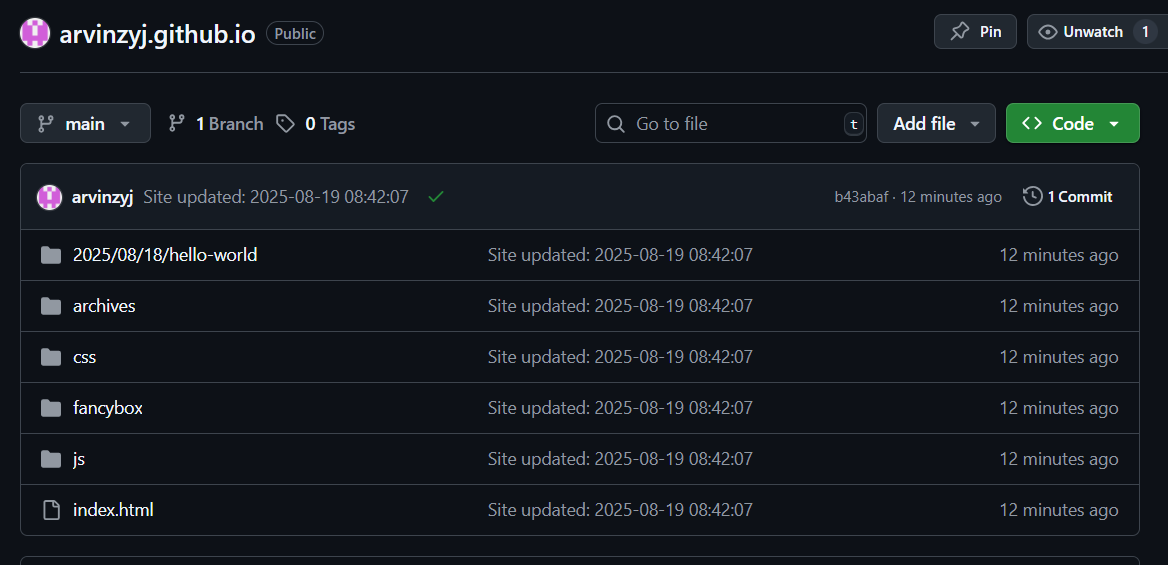
然后设置SSH链接(当然也可以用token)
回到终端安装一个插件
1
npm install hexo-deployer-git --save
打开
_config.yml文件,修改1
2
3
4
5
6# Deployment
## Docs: https://hexo.io/docs/one-command-deployment
deploy:
type: 'git'
repo: git@github.com:arvinzyj/arvinzyj.github.io.git # SSH链接使用SSH地址,token使用HTTPS地址
branch: main推送博客
1
hexo d
就可以推送博客站点到
github了常用命令
1
2
3hexo clean
hexo g
hexo d
主题
本人使用的是butterfly,按照上面步骤构建即可。有两个问题需要解决一下
markdown文件图片插入加载不出来在路径
~/myblog/source/_post中,添加.md文件时,添加一个同名图片文件夹,然后插入.md的图片都从本地使用相对路径插入,例如: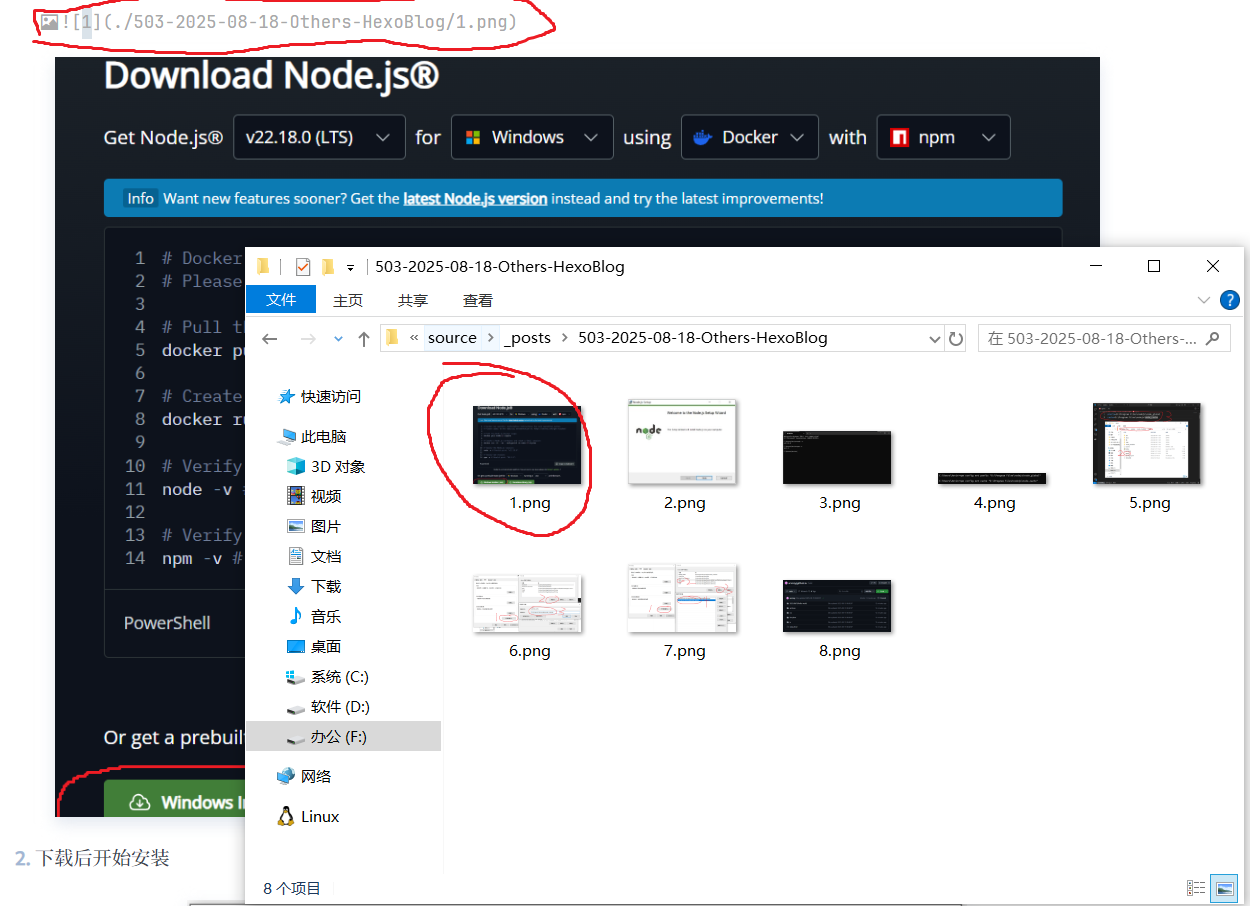
在博客根目录下使用管理院权限打开终端,安装第三方插件
hexo-asset-image1
npm install https://github.com/CodeFalling/hexo-asset-image --save
修改
~/blog/node_modules/hexo-asset-image/index.js文件,更改为:1
2
3
4
5
6
7
8
9
10
11
12
13
14
15
16
17
18
19
20
21
22
23
24
25
26
27
28
29
30
31
32
33
34
35
36
37
38
39
40
41
42
43
44
45
46
47
48
49
50
51
52
53
54
55
56
57
58
59
60
61;
var cheerio = require('cheerio');
// http://stackoverflow.com/questions/14480345/how-to-get-the-nth-occurrence-in-a-string
function getPosition(str, m, i) {
return str.split(m, i).join(m).length;
}
var version = String(hexo.version).split('.');
hexo.extend.filter.register('after_post_render', function(data){
var config = hexo.config;
if(config.post_asset_folder){
var link = data.permalink;
if(version.length > 0 && Number(version[0]) == 3)
var beginPos = getPosition(link, '/', 1) + 1;
else
var beginPos = getPosition(link, '/', 3) + 1;
// In hexo 3.1.1, the permalink of "about" page is like ".../about/index.html".
var endPos = link.lastIndexOf('/') + 1;
link = link.substring(beginPos, endPos);
var toprocess = ['excerpt', 'more', 'content'];
for(var i = 0; i < toprocess.length; i++){
var key = toprocess[i];
var $ = cheerio.load(data[key], {
ignoreWhitespace: false,
xmlMode: false,
lowerCaseTags: false,
decodeEntities: false
});
$('img').each(function(){
if ($(this).attr('src')){
// For windows style path, we replace '\' to '/'.
var src = $(this).attr('src').replace('\\', '/');
if(!/http[s]*.*|\/\/.*/.test(src) &&
!/^\s*\//.test(src)) {
// For "about" page, the first part of "src" can't be removed.
// In addition, to support multi-level local directory.
var linkArray = link.split('/').filter(function(elem){
return elem != '';
});
var srcArray = src.split('/').filter(function(elem){
return elem != '' && elem != '.';
});
if(srcArray.length > 1)
srcArray.shift();
src = srcArray.join('/');
$(this).attr('src', config.root + link + src);
console.info&&console.info("update link as:-->"+config.root + link + src);
}
}else{
console.info&&console.info("no src attr, skipped...");
console.info&&console.info($(this));
}
});
data[key] = $.html();
}
}
});打开博客根目录下面的_config.yml文件,修改post_asset_folder的值为true。
然后推送部署文章即可
1
2
3hexo clean
hexo g
hexo d
LaTex公式渲染错误,markdown文件内正常渲染的公式推送之后经常会出现乱码,主要是渲染引擎规则不一致导致的。参考这篇文章可以解决这个问题。在博客根目录安装插件。
1
2cd ~/blog
npm install hexo-math --save将 Hexo 默认的 markdown 渲染引擎 hexo-renderer-marked 更换为 hexo-renderer-kramed
1
2
3npm uninstall hexo-renderer-marked --save
npm install hexo-renderer-kramed --save修改
kramed配置,解决语义冲突。打开~/blog/node_modules\kramed\lib\rules\inline.js文件,将第11行escape变量的值修改为:1
escape: /^\\([`*\[\]()#$+\-.!_>])/,
将第20行的
em变量修改为:1
em: /^\*((?:\*\*|[\s\S])+?)\*(?!\*)/,
在博客根目录的
_config.yml文件中设置MathJax渲染引擎。在文档中添加1
2
3
4
5# MathJax
math:
engine: 'mathjax'
mathjax:
src: https://cdnjs.cloudflare.com/ajax/libs/mathjax/2.7.4/MathJax.js?config=TeX-MML-AM_CHTML
总结
至此,基本上完成了个人博客的简单搭建,后续可以继续升级美化。